> ## Documentation Index
> Fetch the complete documentation index at: https://docs.gmicloud.ai/llms.txt
> Use this file to discover all available pages before exploring further.
# Artifacts
> Inputs, outputs, and other files referenced by inference workflows.
Artifacts manage model artifacts and their dependencies, including Docker containers, model files, and associated scripts. They offer secure storage and versioning capabilities for all deployment components. After building artifacts, you can launch tasks for custom models.
## View Artifacts
1. Click "Resources Overview" in the upper right corner of the menu.
 2. Click on "Artifacts" in the left-hand menu.You can view artifacts dashboard.
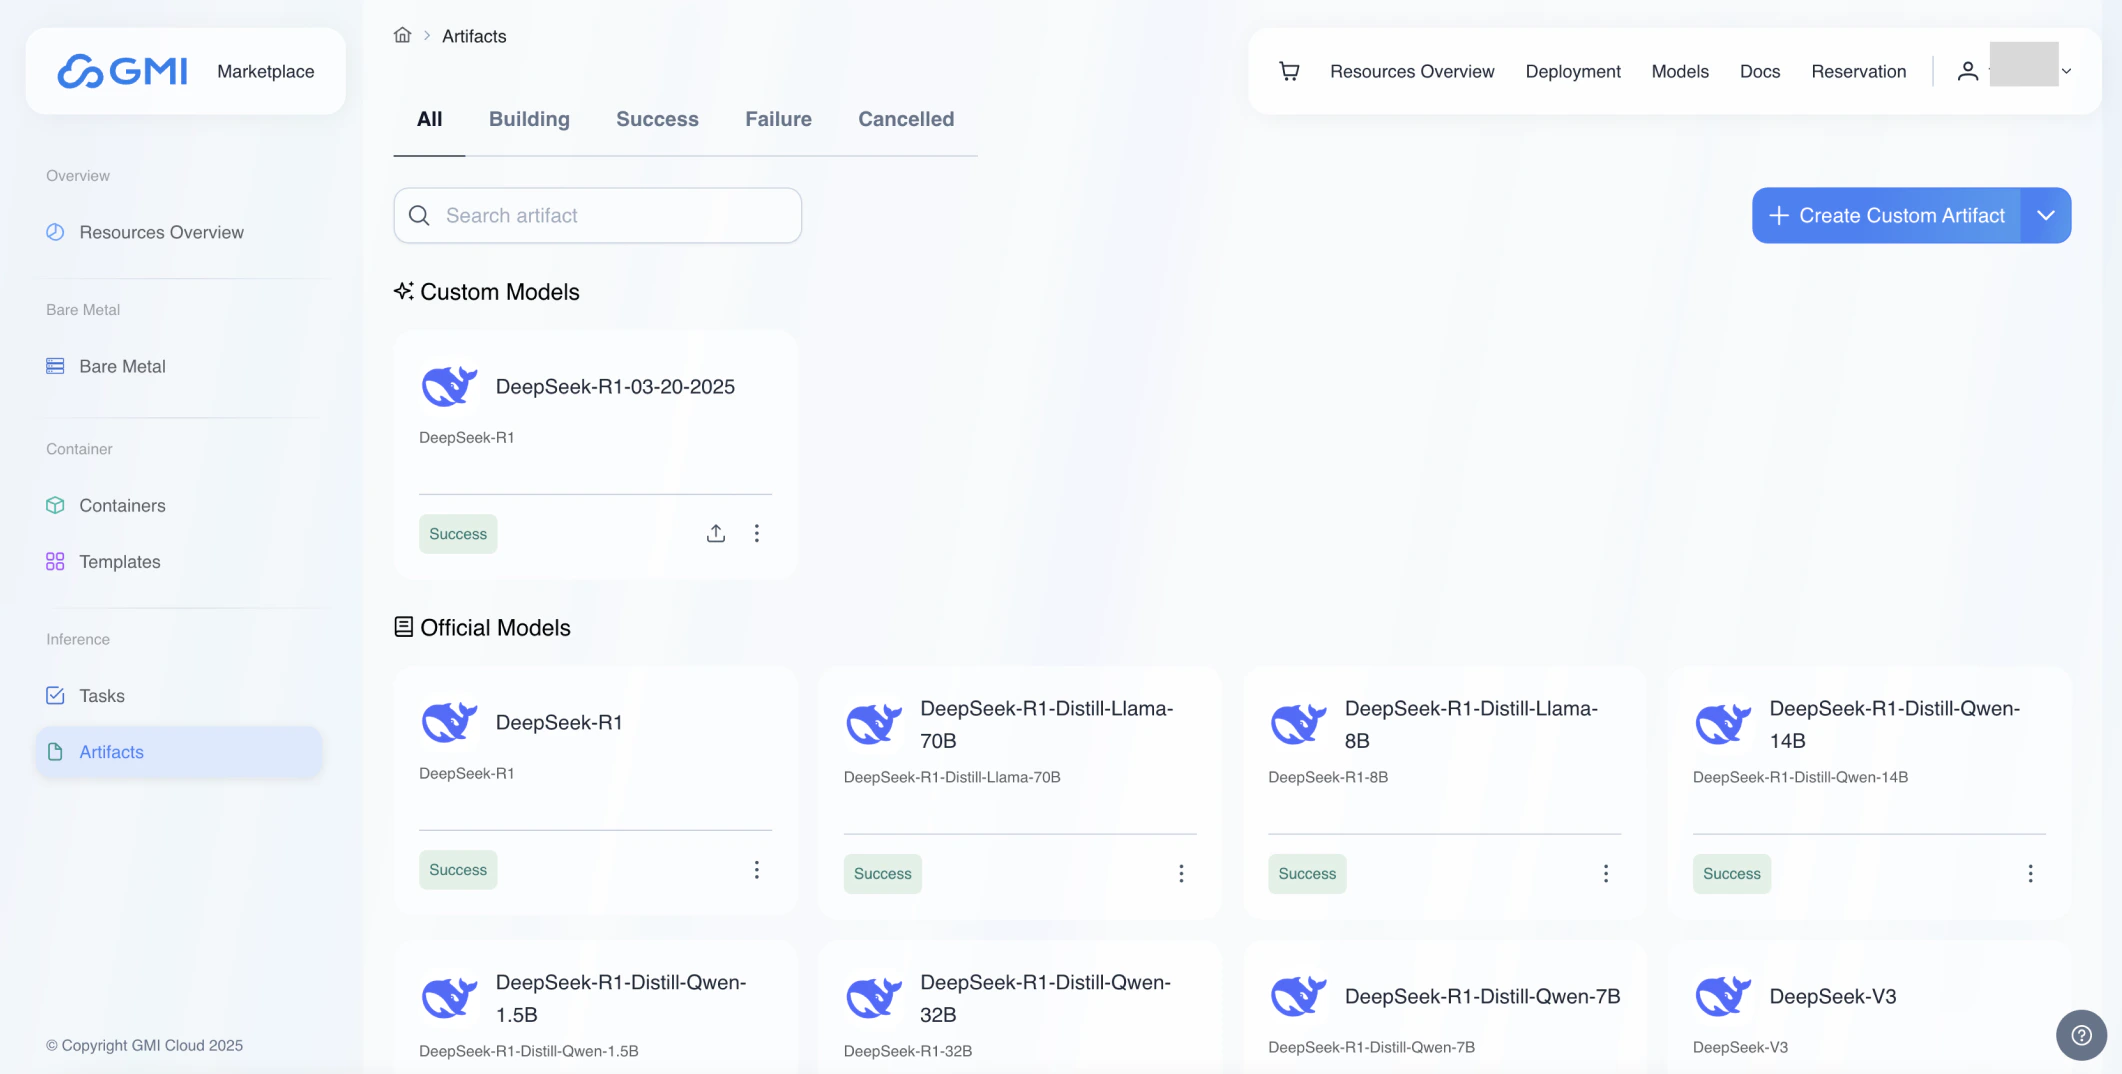 **Custom Models**: Custom Modes are built by you.
**Offical Modes**: Offical Models are provided by GMI Cloud.
## Create Artifacts from template
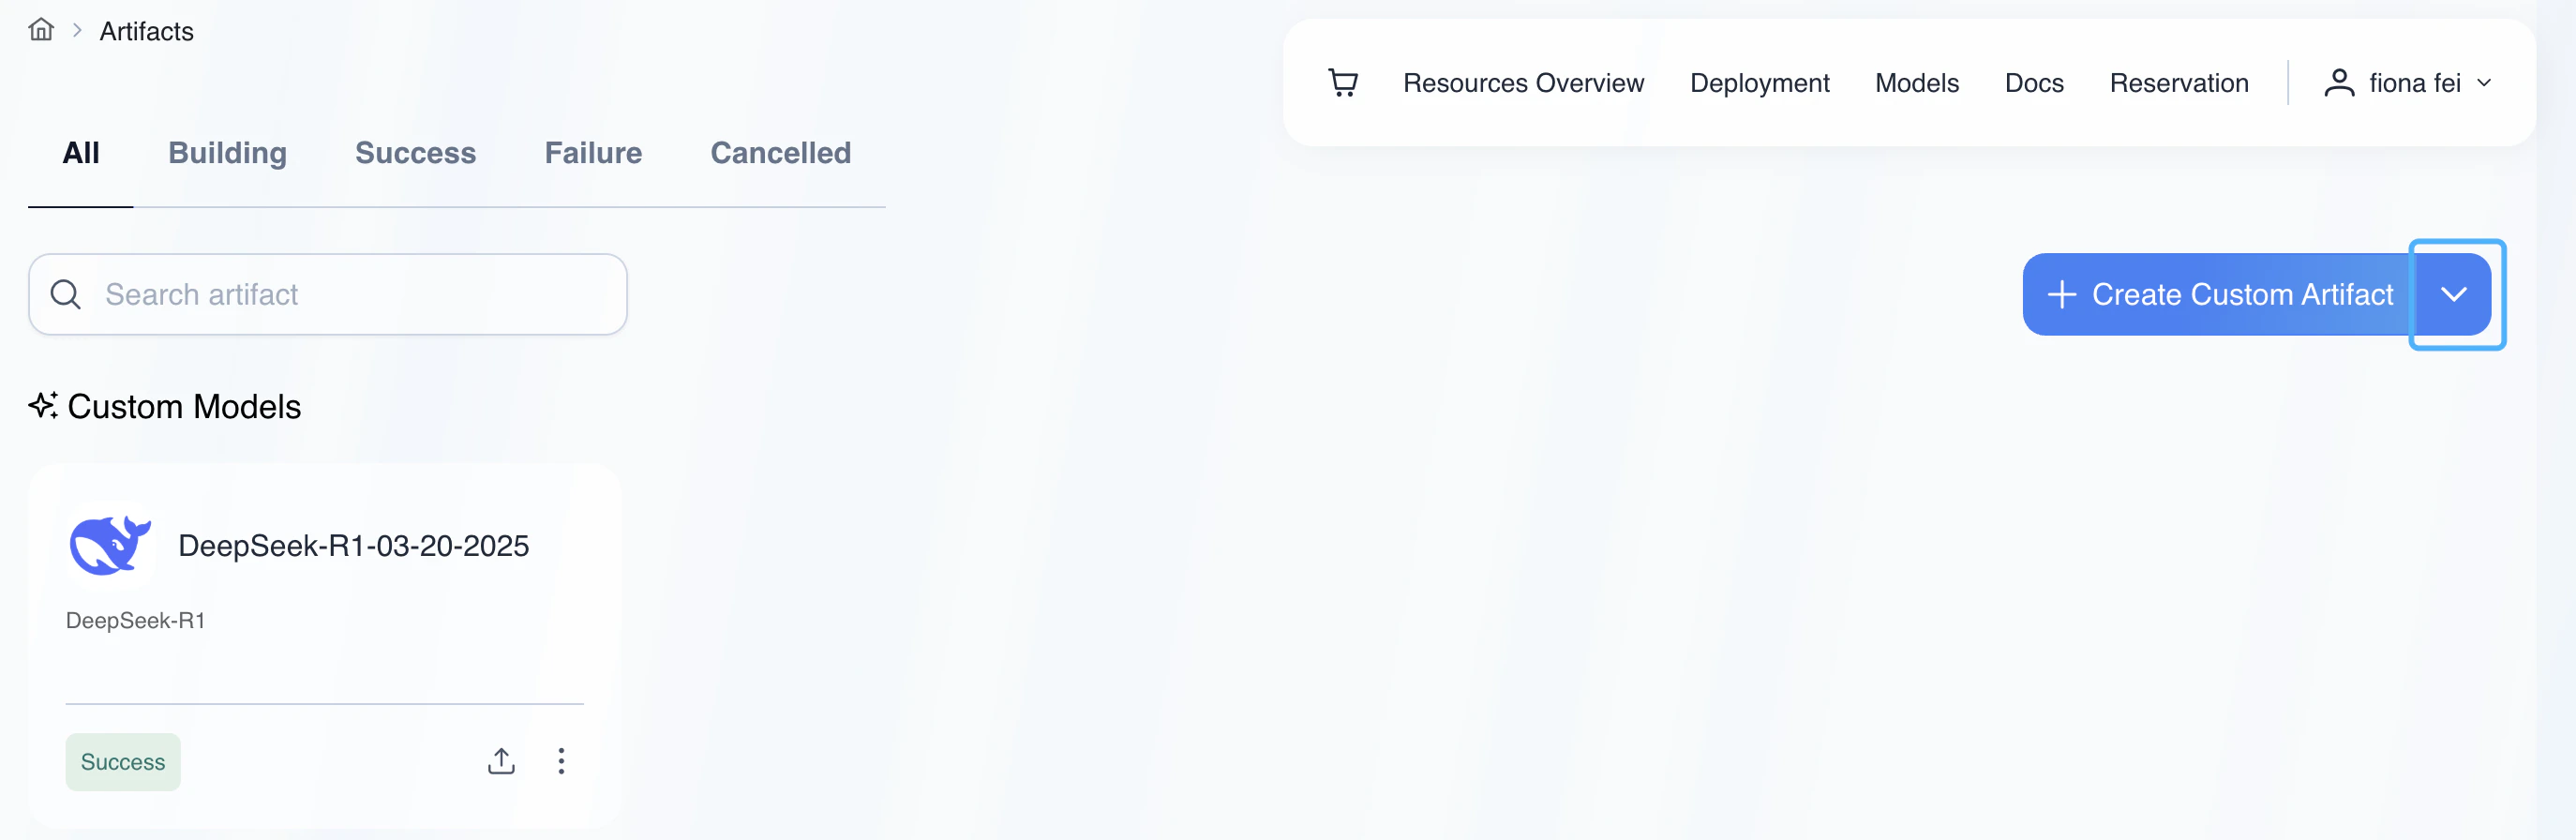
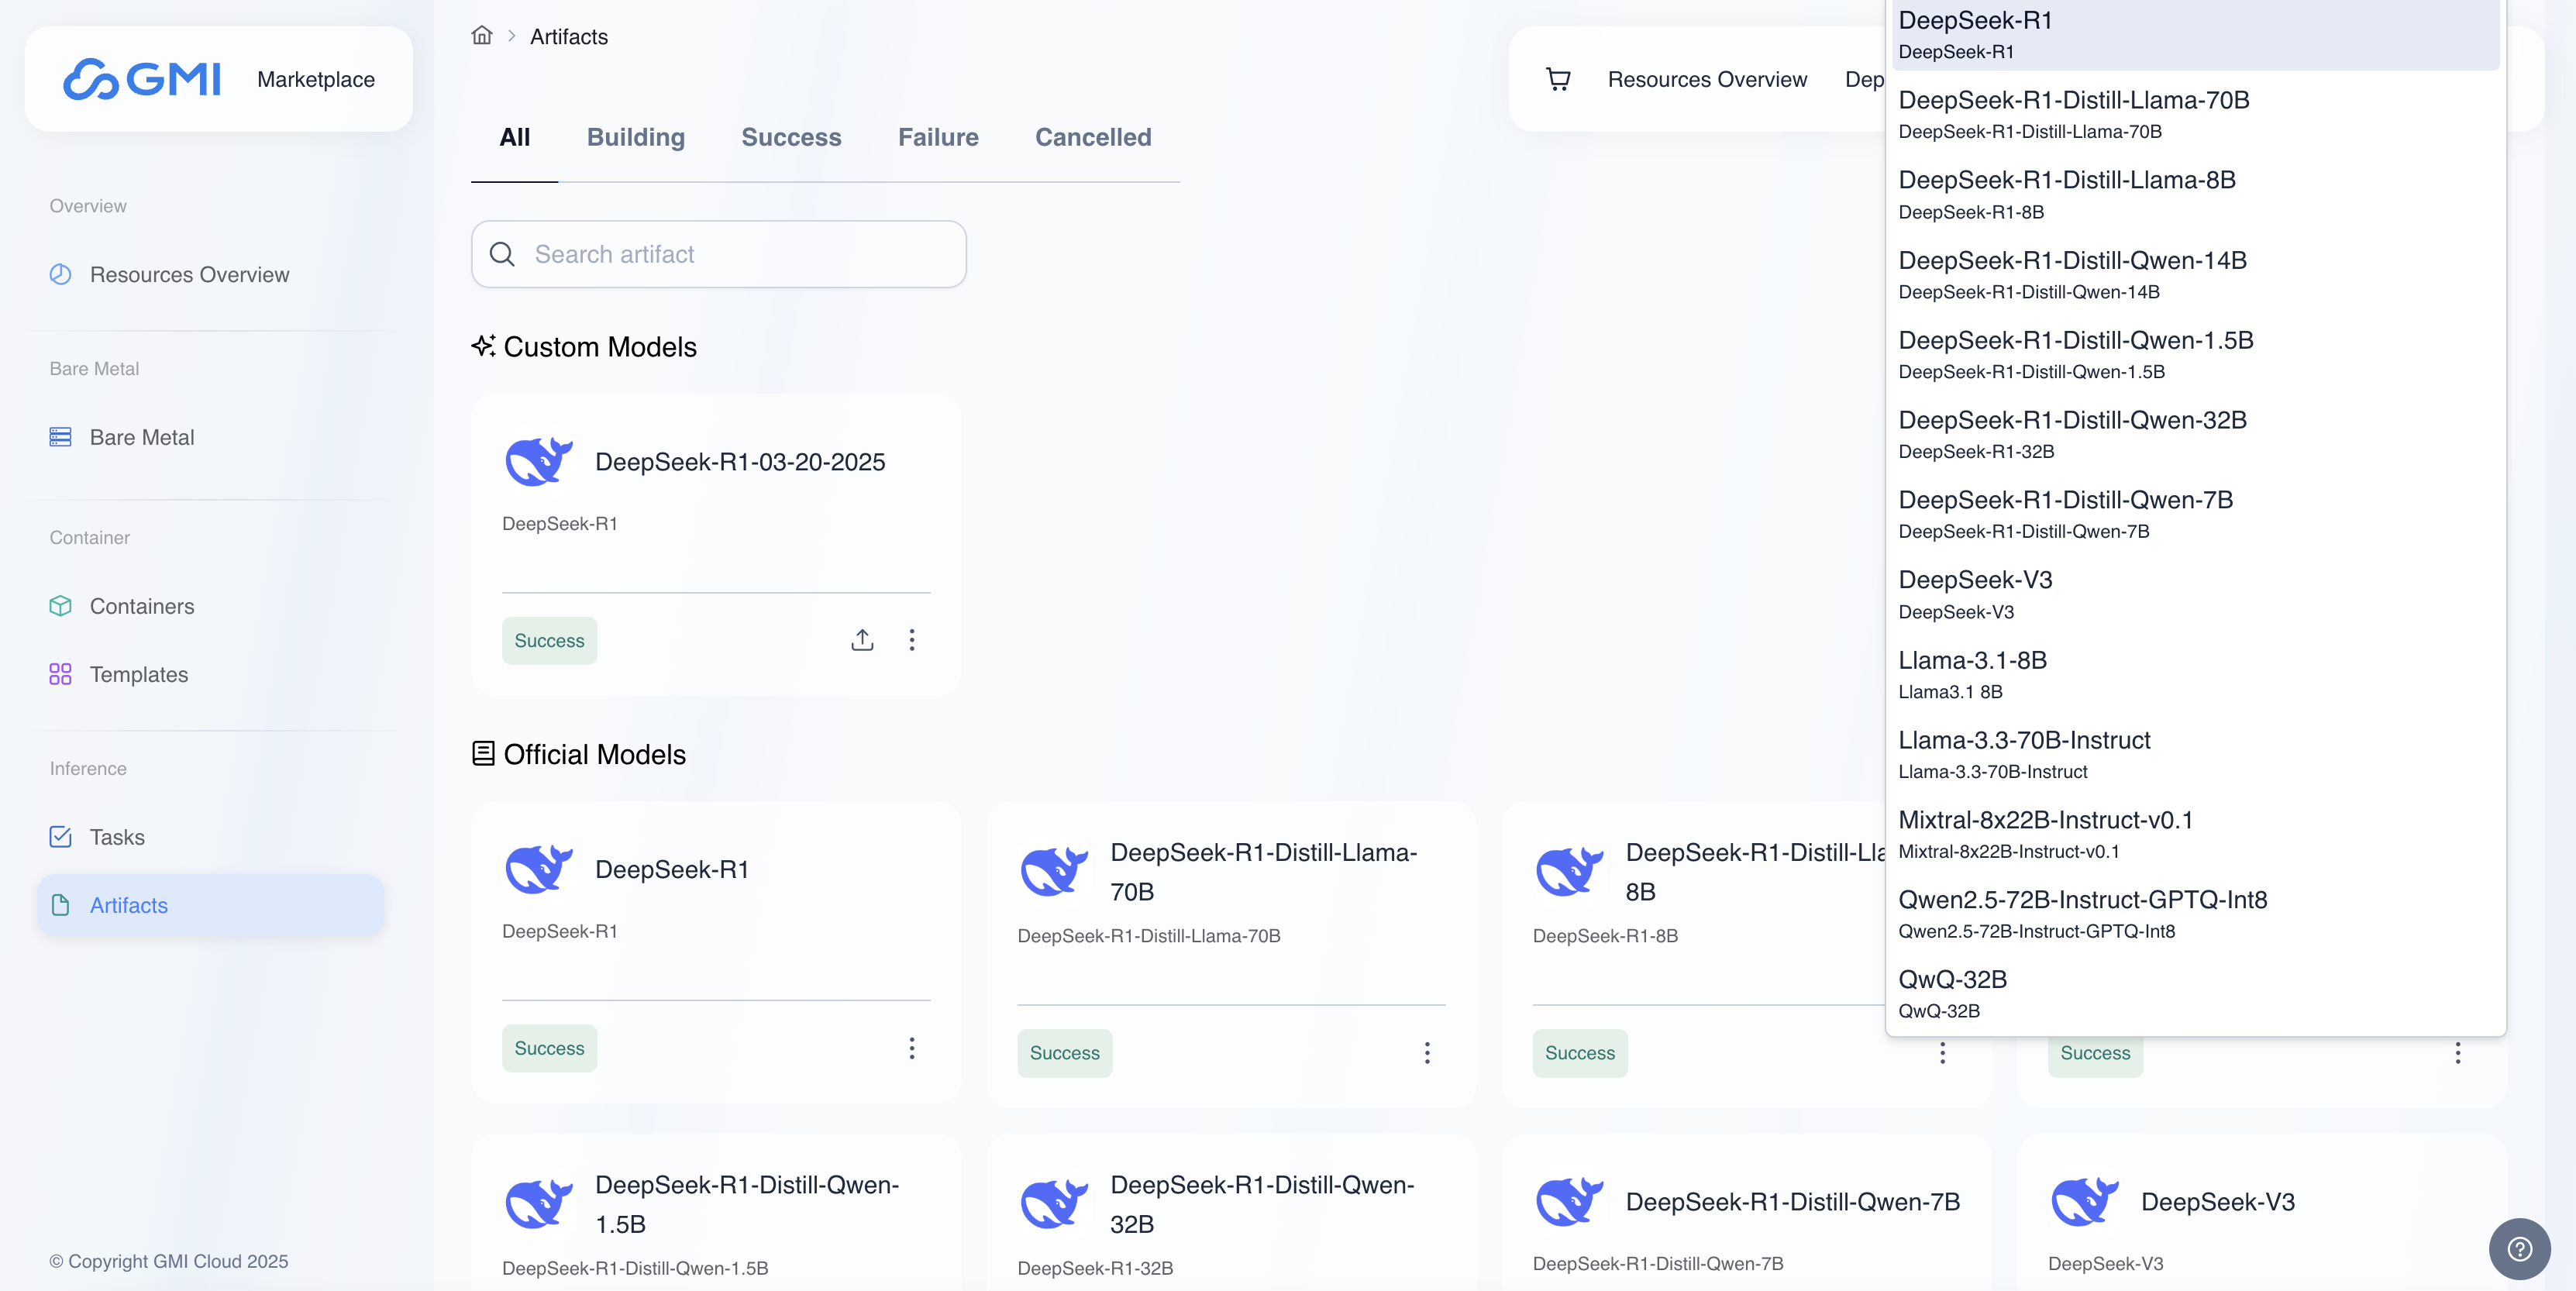
1. Click the arrow next to button "Create Custom Artifact".
**Custom Models**: Custom Modes are built by you.
**Offical Modes**: Offical Models are provided by GMI Cloud.
## Create Artifacts from template
1. Click the arrow next to button "Create Custom Artifact".
 2. You can view the template list, select a template, and then create a custom model artifact based on that template.
 ## Create Custom Artifacts
1. Click the button "Create Custom Artifact".
## Create Custom Artifacts
1. Click the button "Create Custom Artifact".
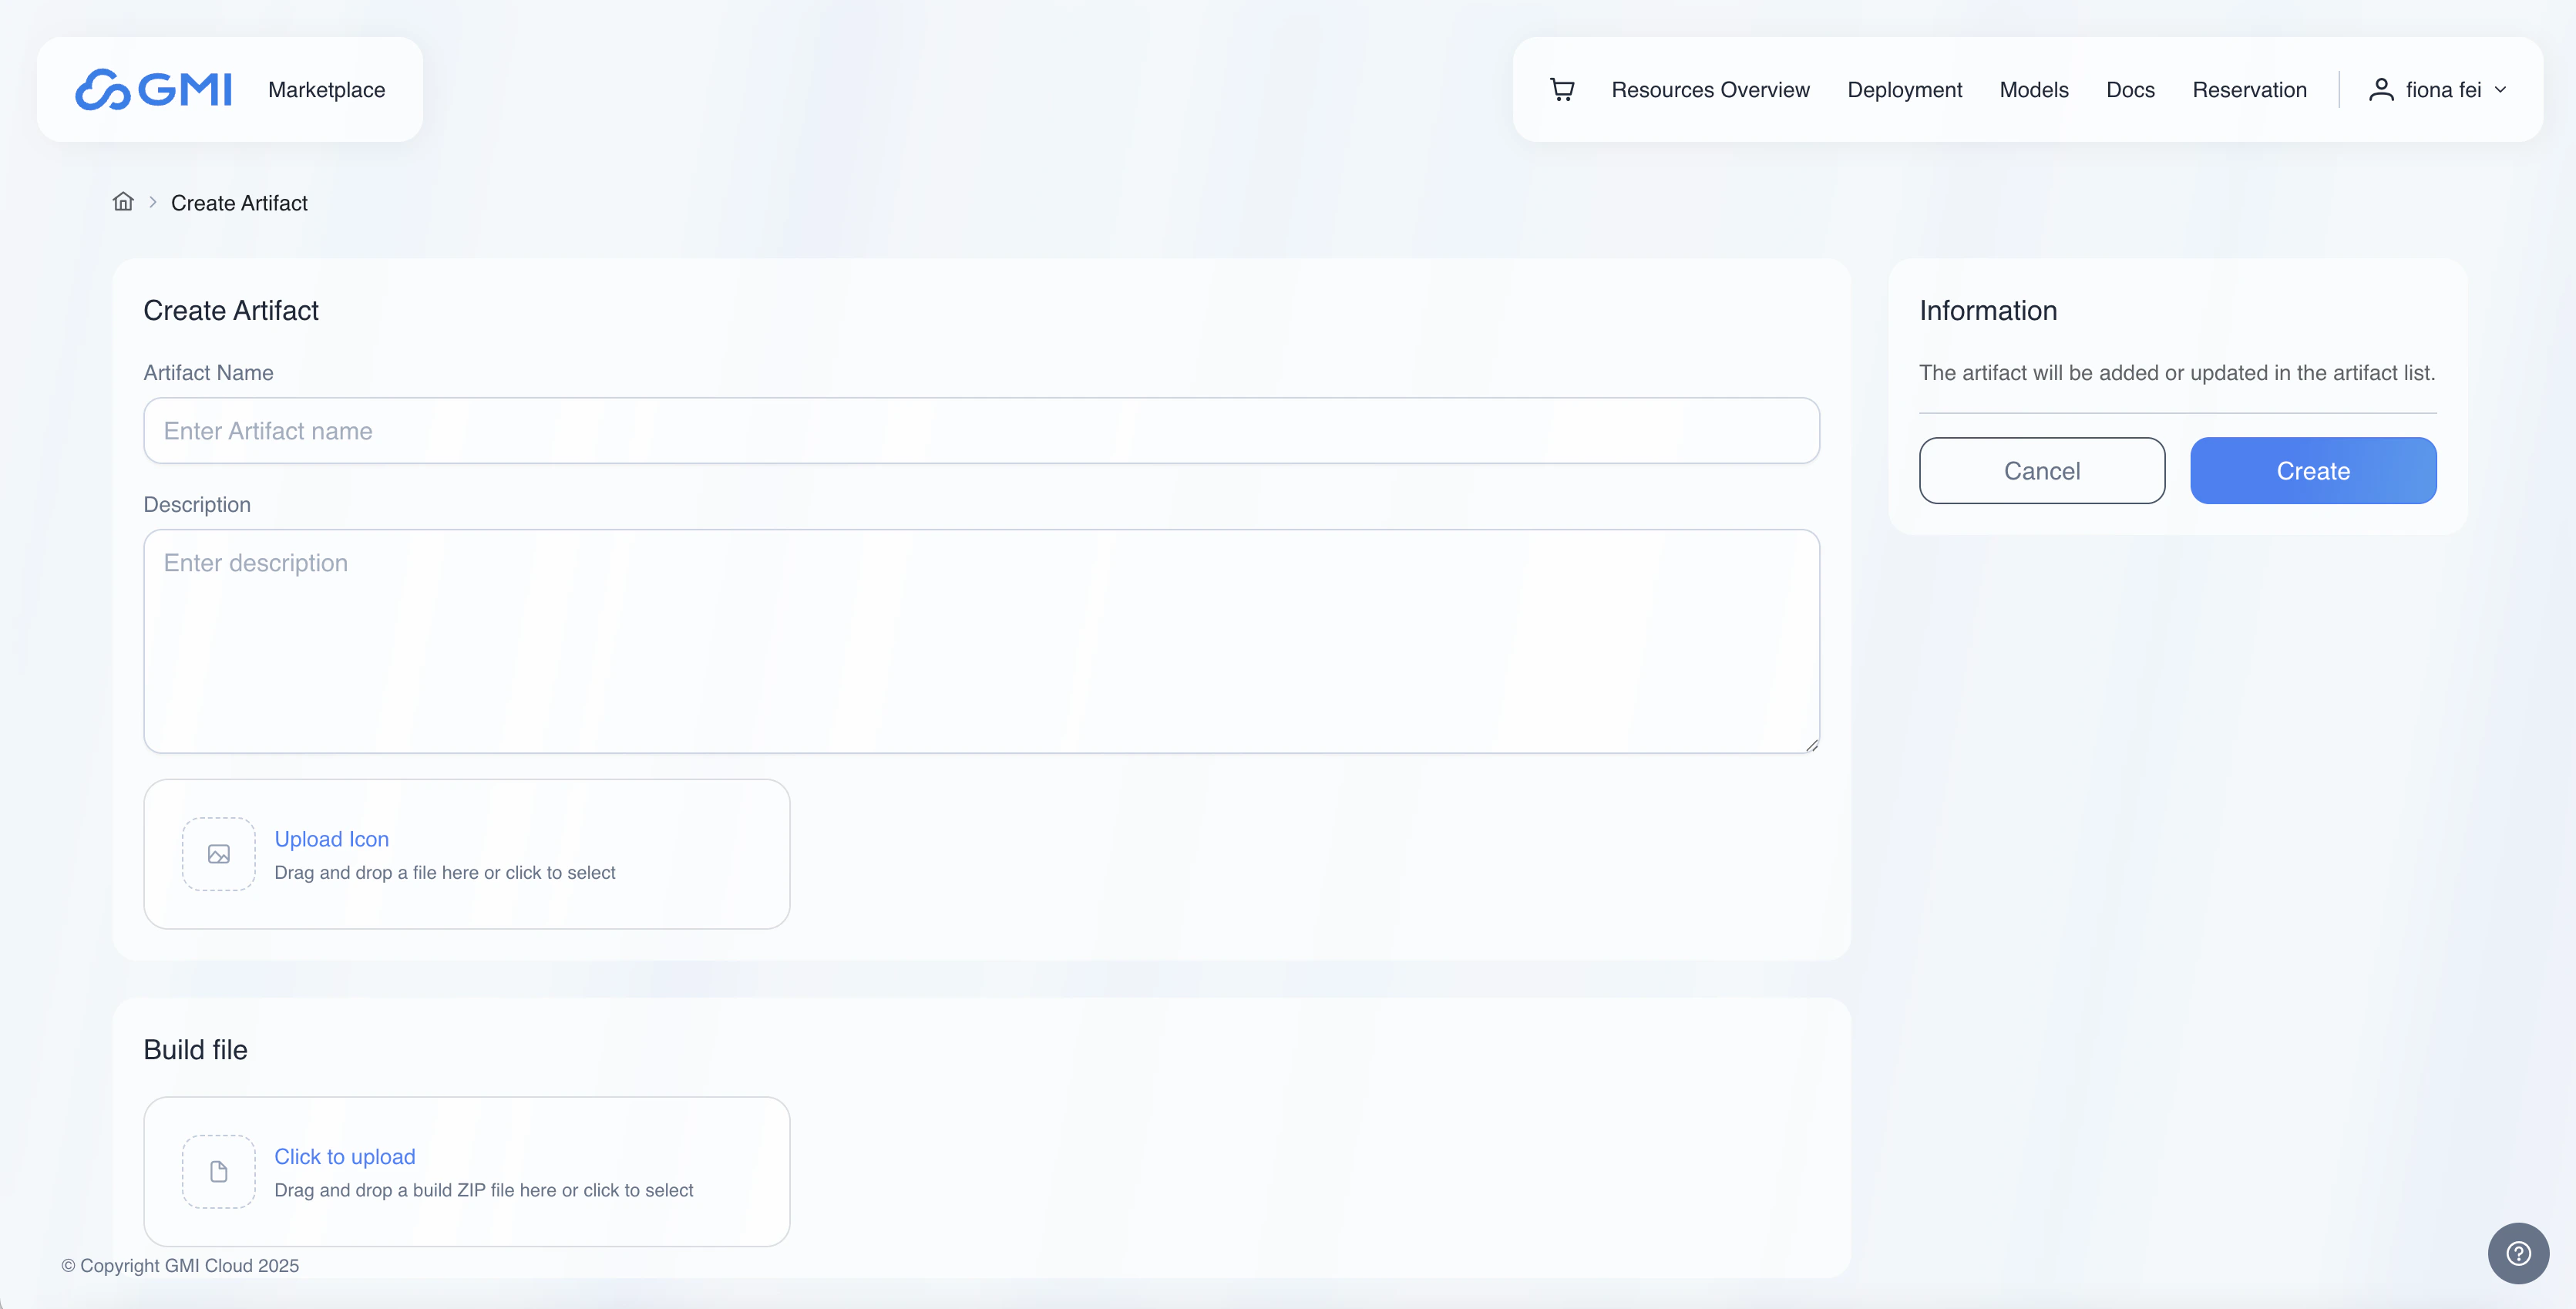 **Artifact Name** : Input artifact name.
**Description**: Input description.
**Upload Icon**: Upload Icon.
**Build File**: Upload a build ZIP file including Docker containers and associated scripts. E.g.
**Artifact Name** : Input artifact name.
**Description**: Input description.
**Upload Icon**: Upload Icon.
**Build File**: Upload a build ZIP file including Docker containers and associated scripts. E.g.
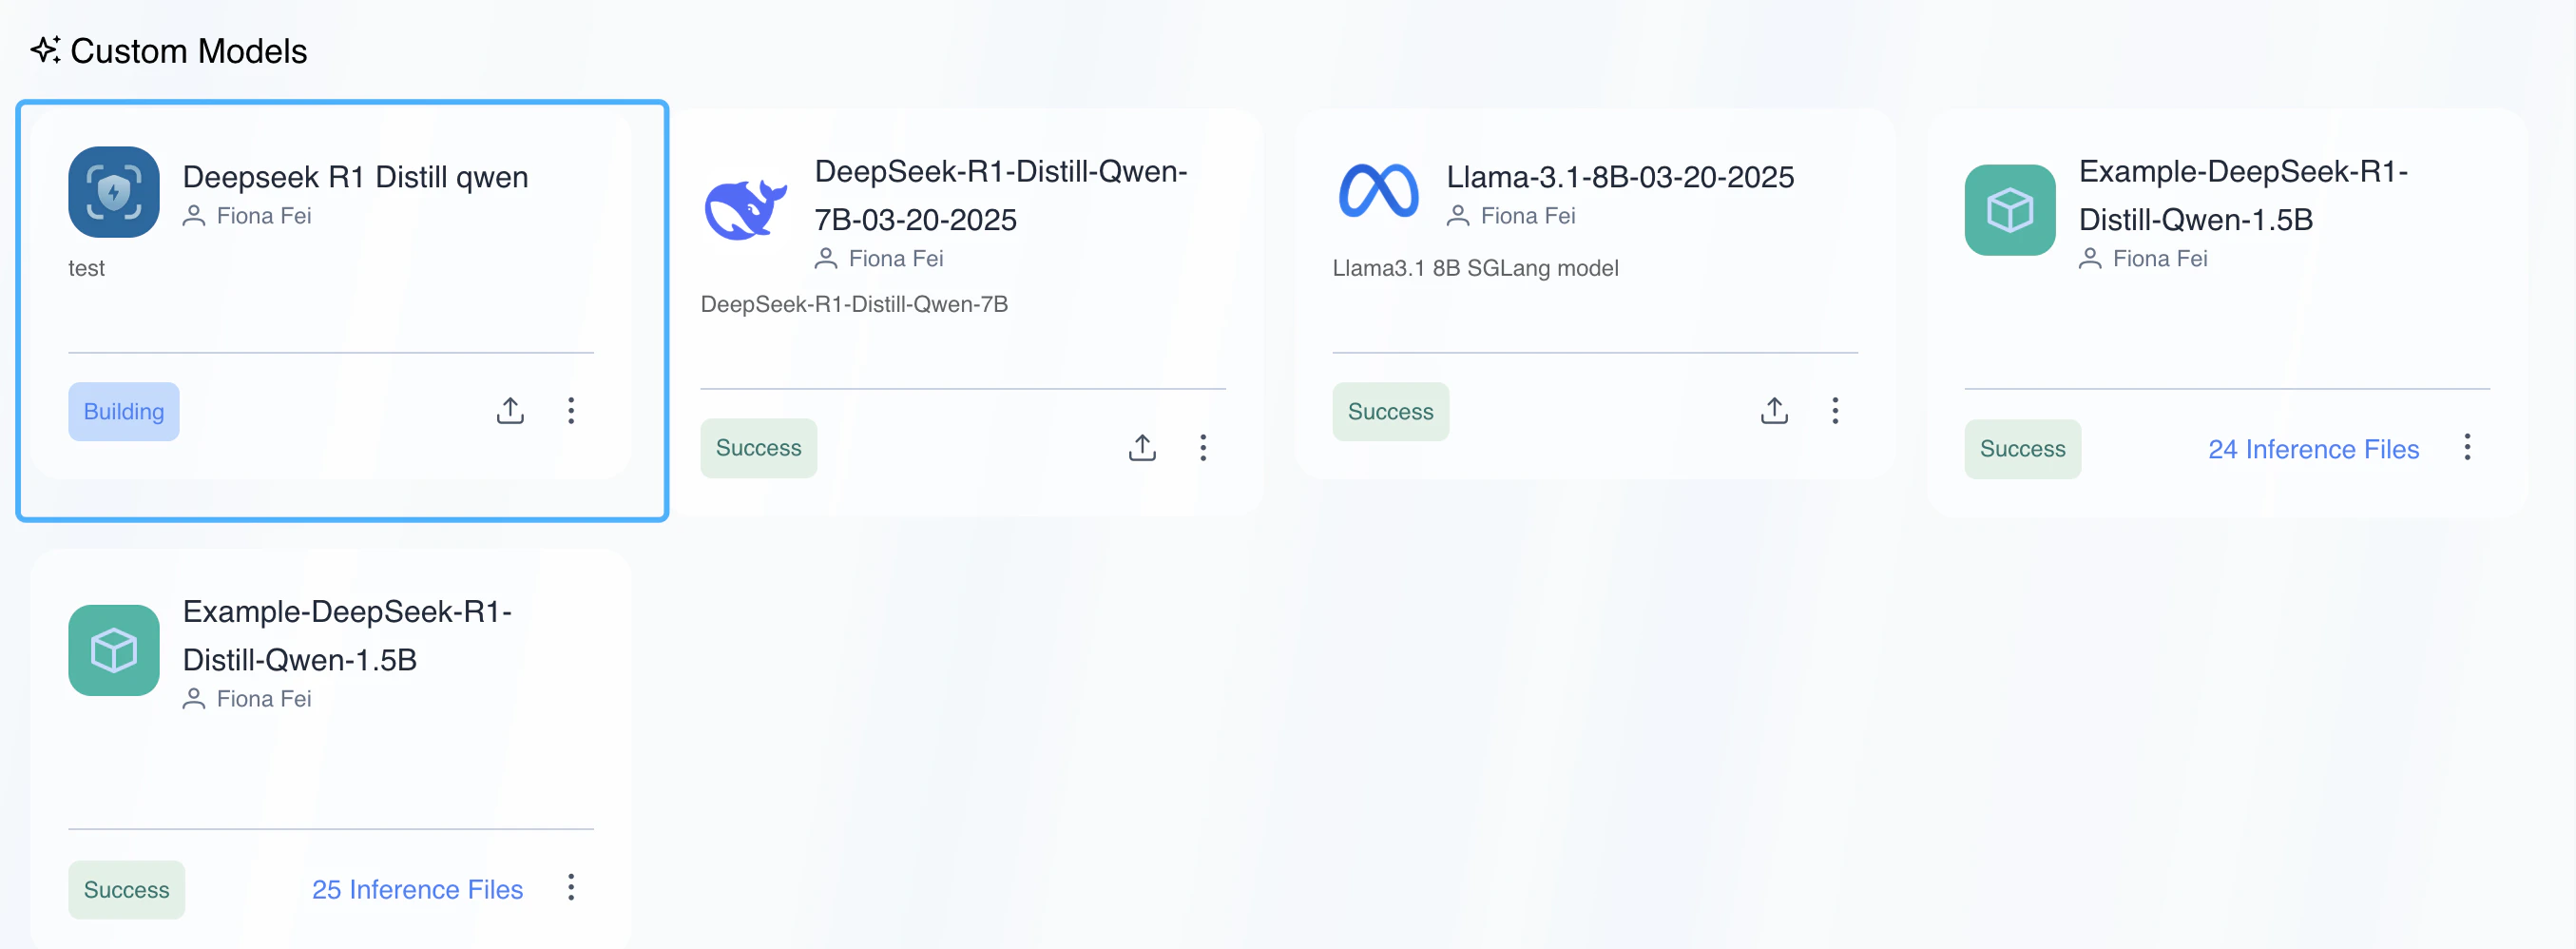
 2. Click the "Create" button to create an artifact. You will then see the artifact in the artifact dashboard under custom models, along with its building status.
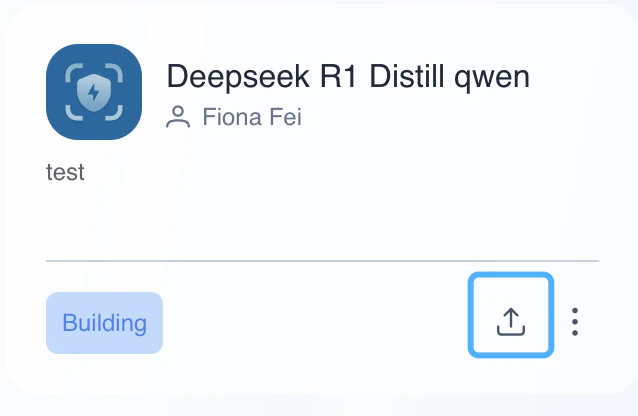
 3. Upload model files by clicking button
 4. Wait for the artifact to reach "Running" status (this may take several minutes), and then you can launch a task from the built artifact.