Documentation Index
Fetch the complete documentation index at: https://docs.gmicloud.ai/llms.txt
Use this file to discover all available pages before exploring further.
Access the Marketplace
- Click “Cluster” in the navigation bar to open the dropdown menu
- Select “Marketplace” from the dropdown menu

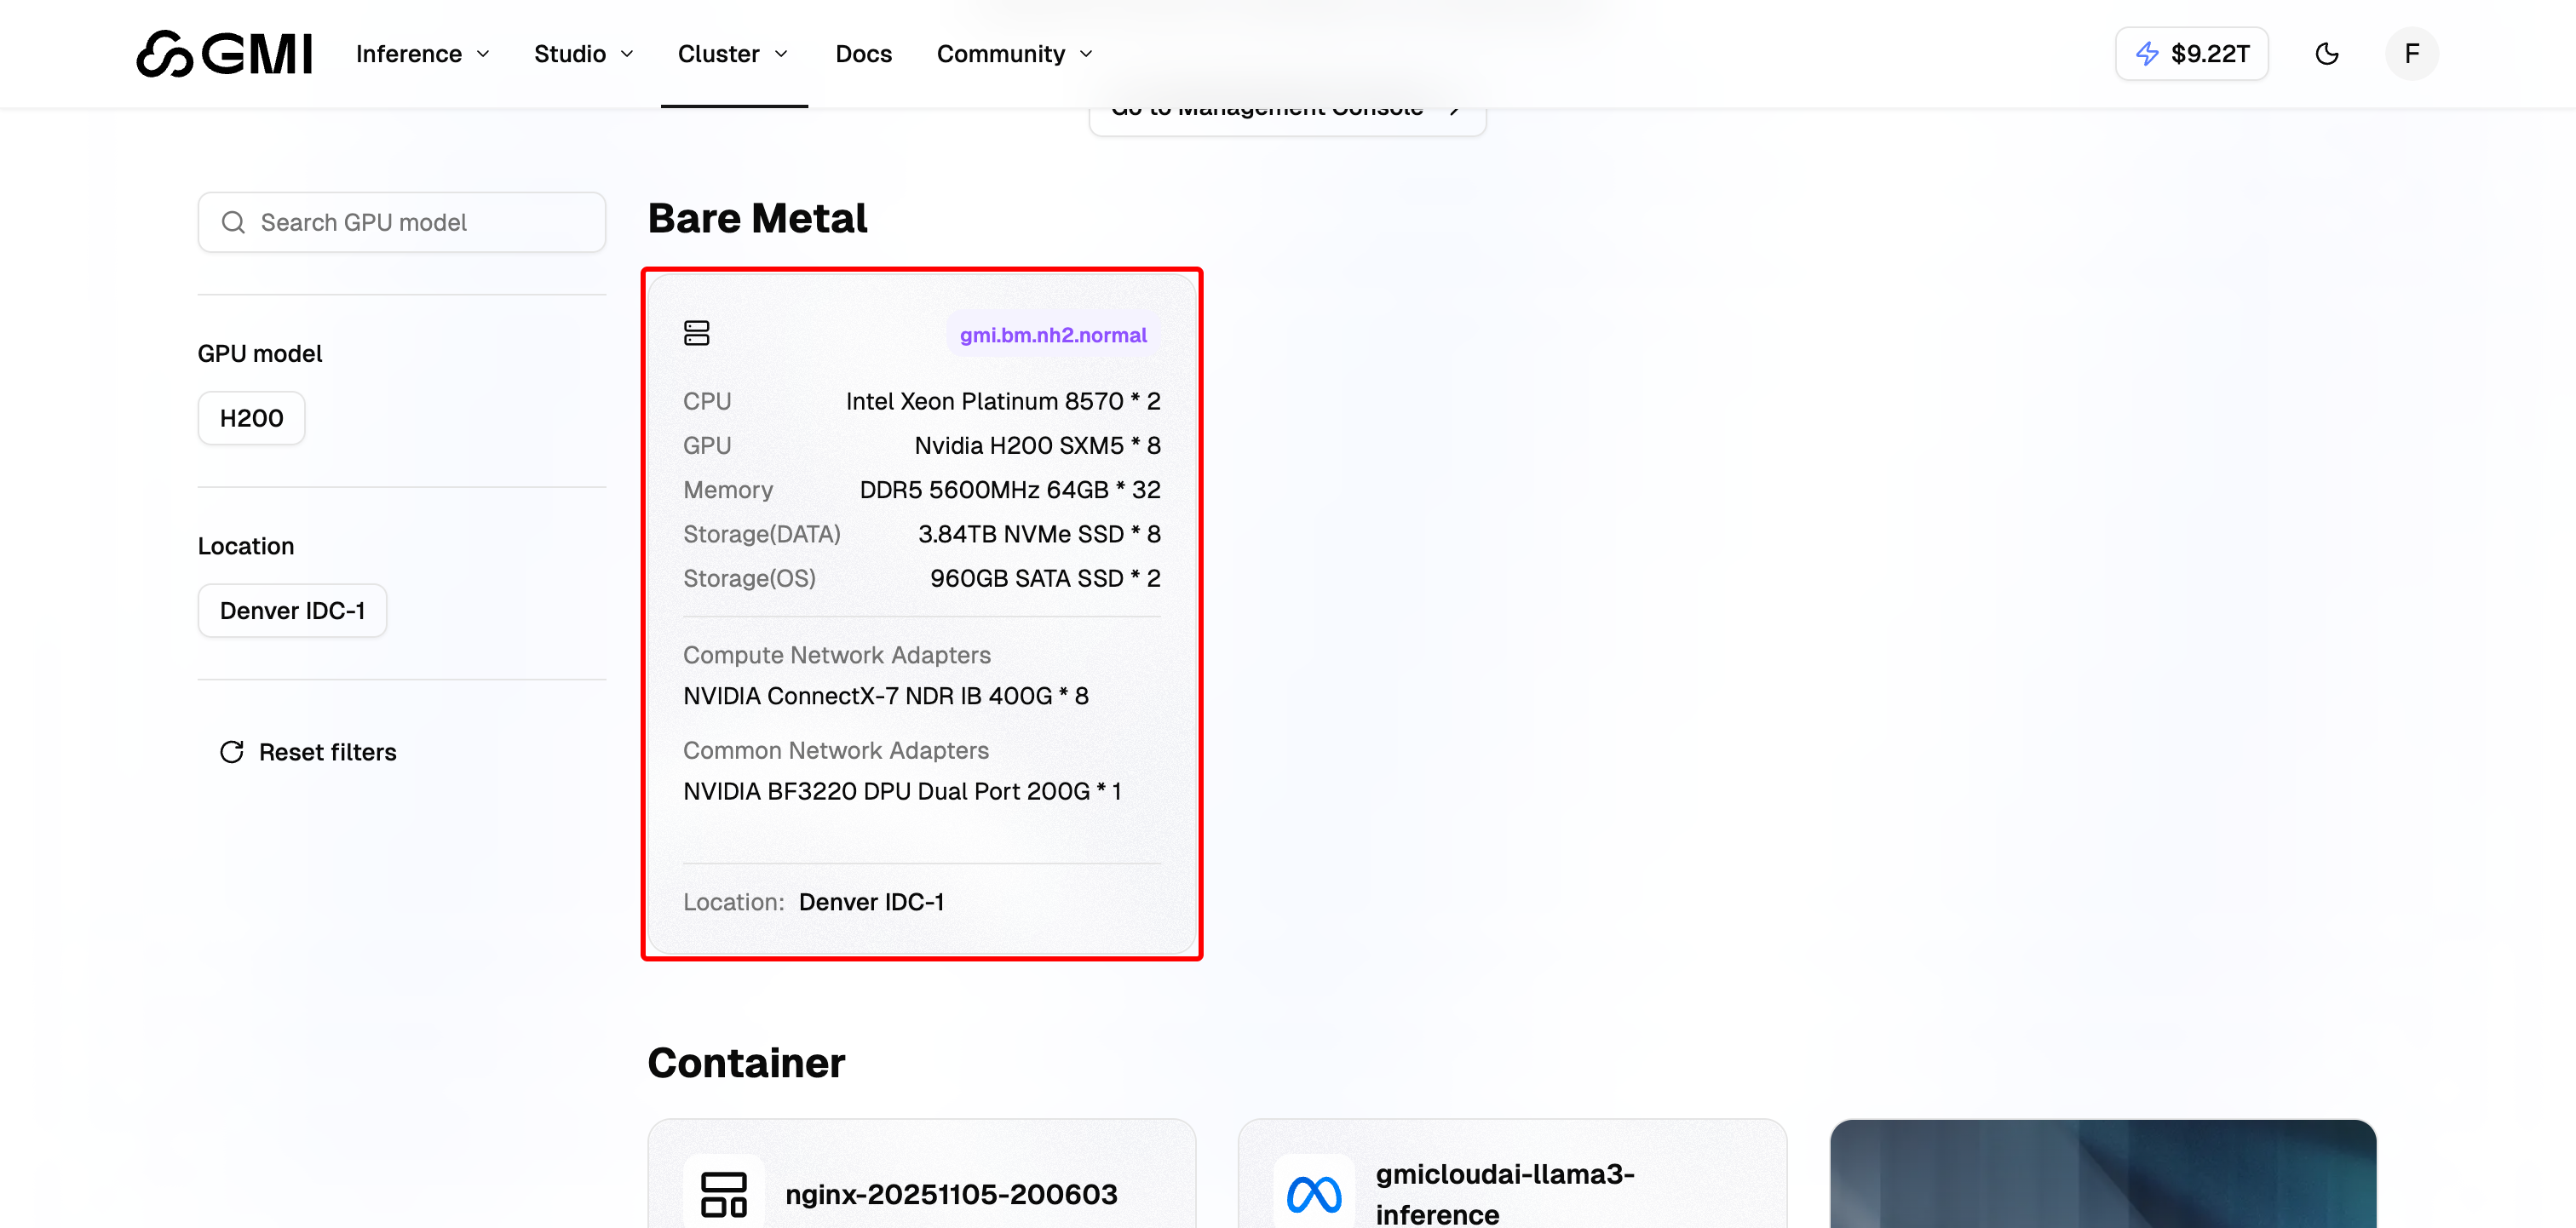
Step 1: Select Bare Metal Specification
- In the Bare Metal section, select a bare metal type to rent
Step 2: Choose Your Instance
- Select your Billing Method: Pay as you go or Prepaid Plan
- Choose the Data Center location
- Select the Specification (instance type)
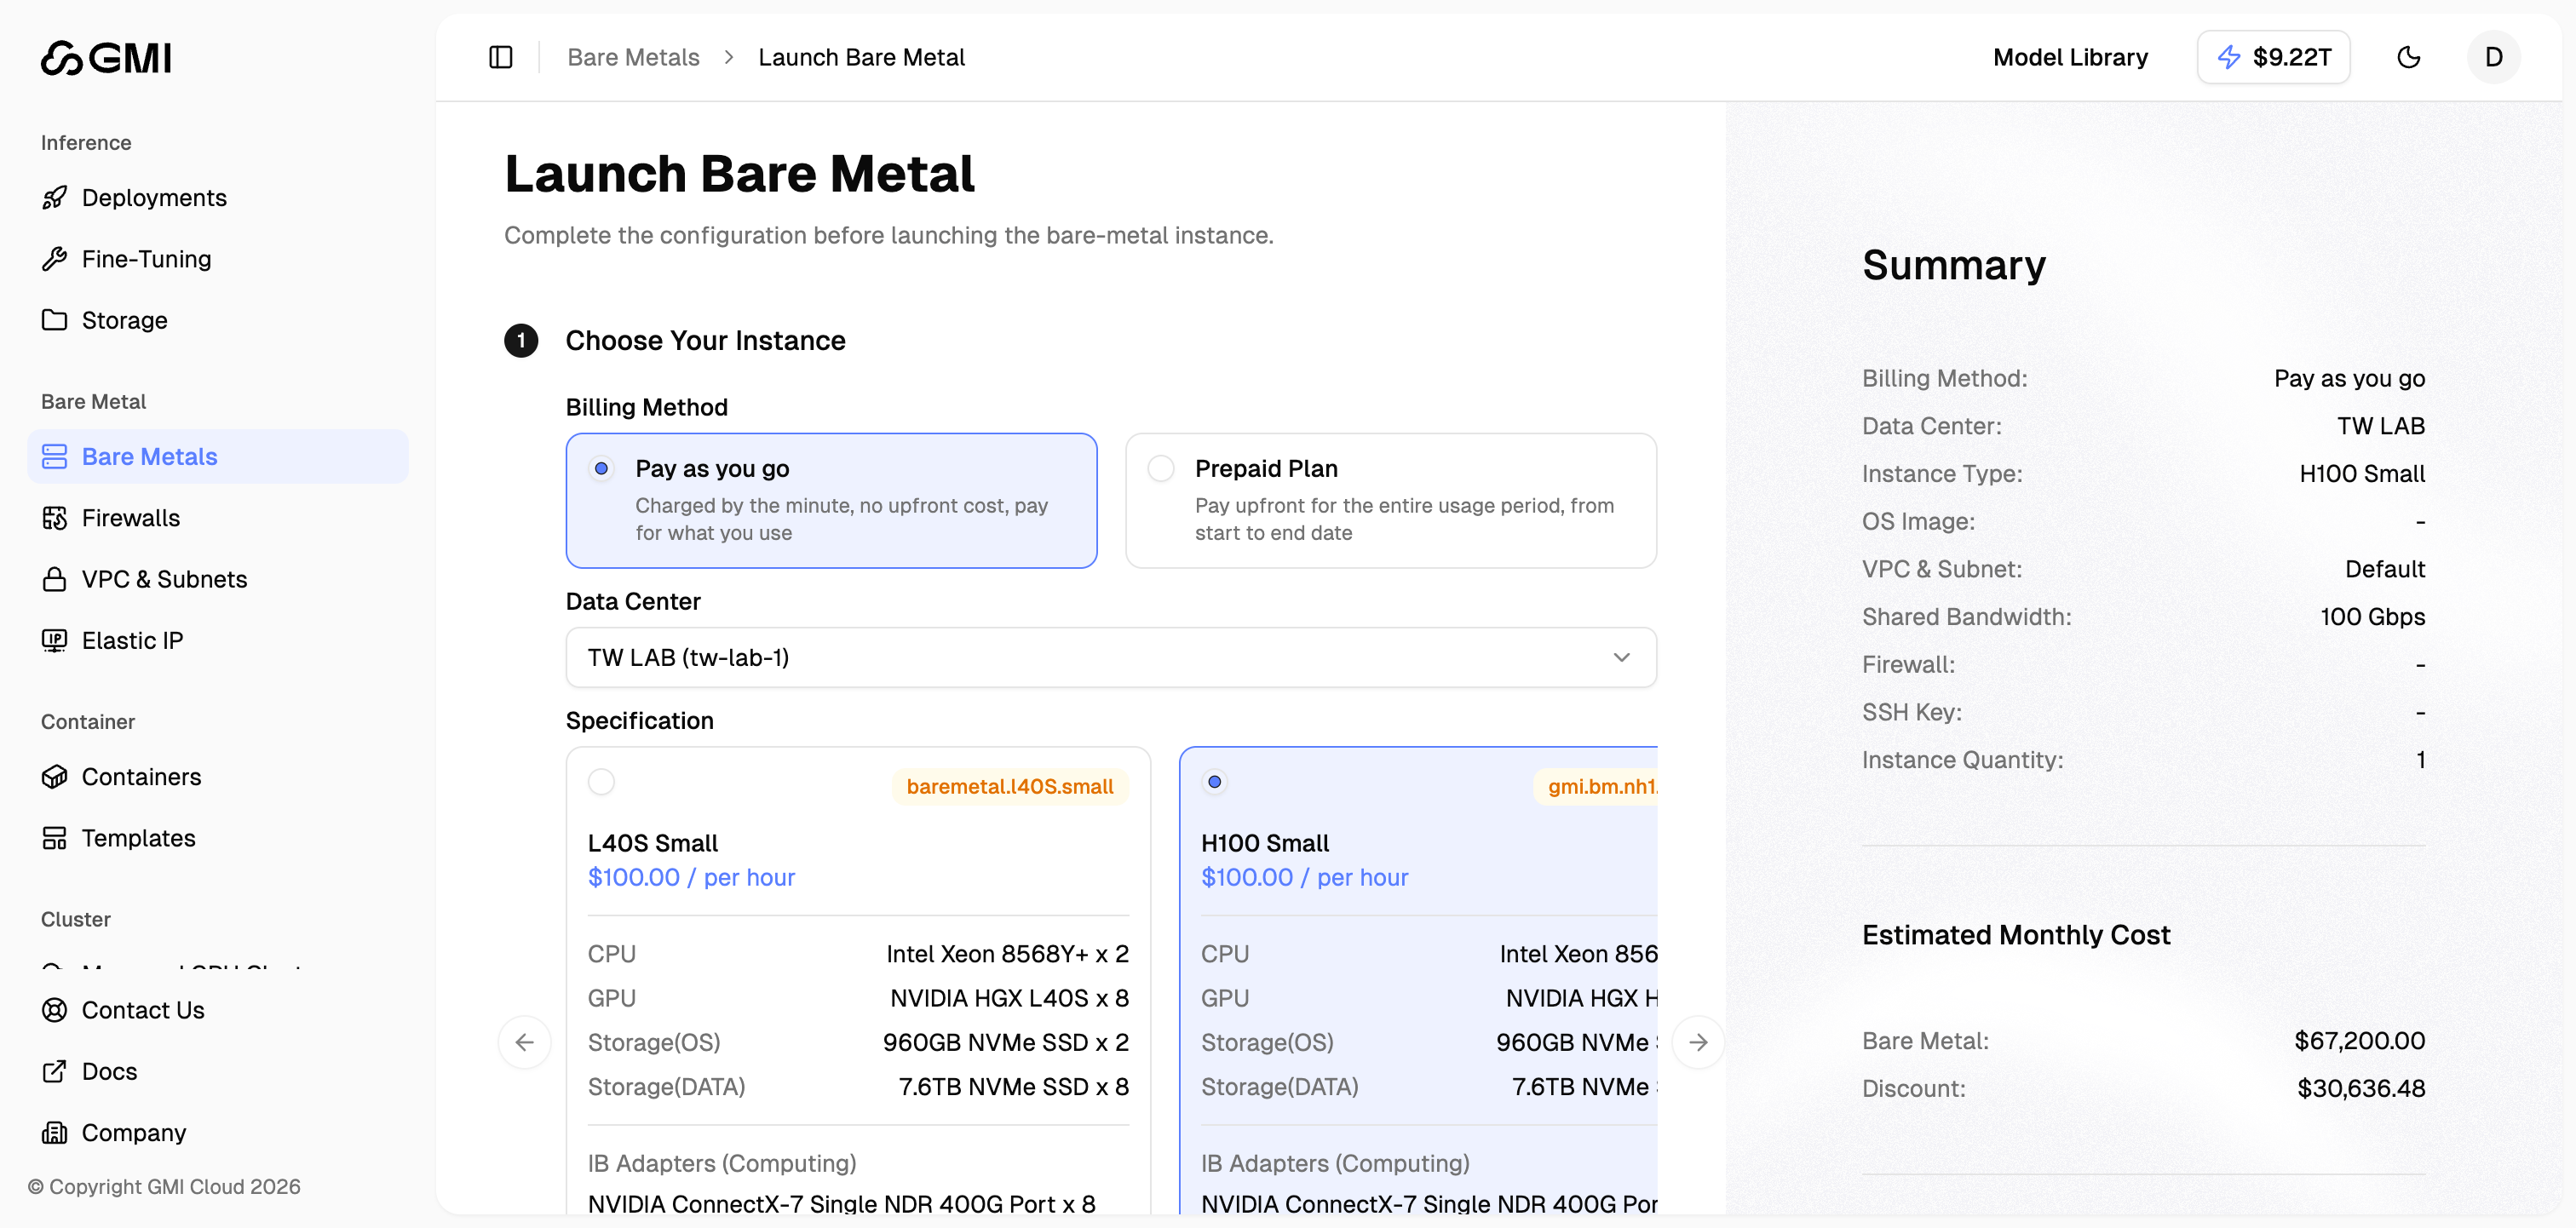
- Click “Continue”
Step 3: OS Image & Partition
- Select Image Type
- Choose your OS Image (e.g., Ubuntu 22.04)
- Review the Partition Table Configuration (default configuration is provided)
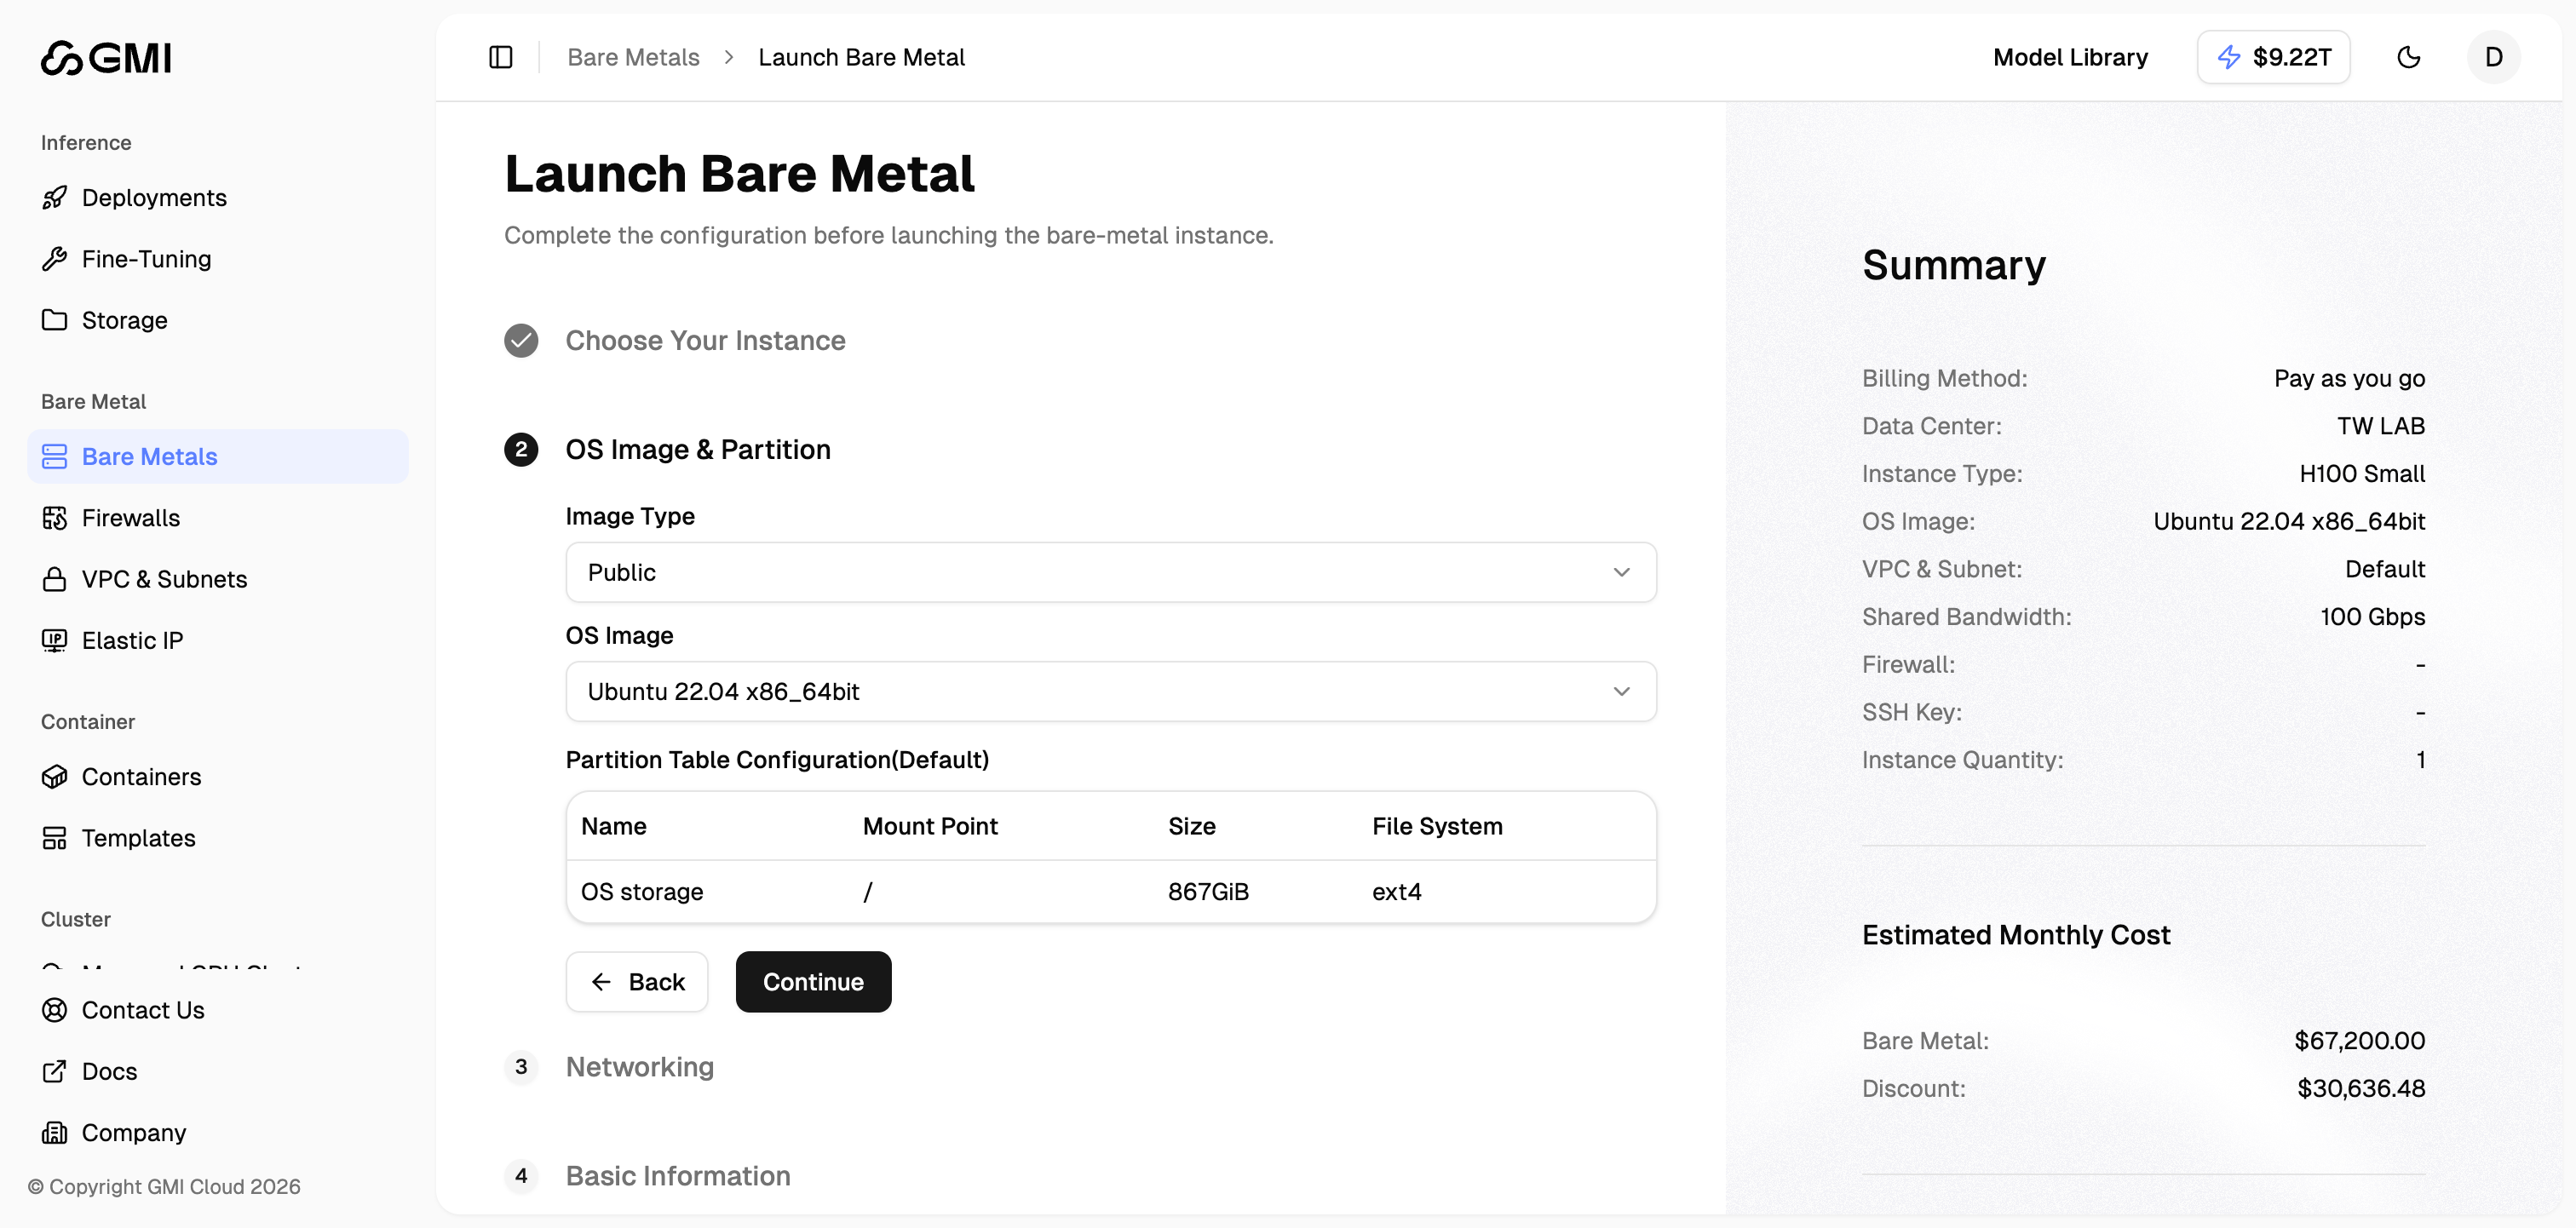
- Click “Continue”
Step 4: Networking Configuration
- Configure networking settings:
- VPC: Select your Virtual Private Cloud (default VPC is provided)
- Subnet: Choose the subnet for your instance
- Internal IP Allocation: Enable to automatically assign an internal IP address
- Elastic IP (Public IP): Enable to assign a static public IPv4 address
- Shared Bandwidth: Review the bandwidth allocation (e.g., 100 Gbps)
- Firewalls: Configure firewall rules (optional, can be configured later)
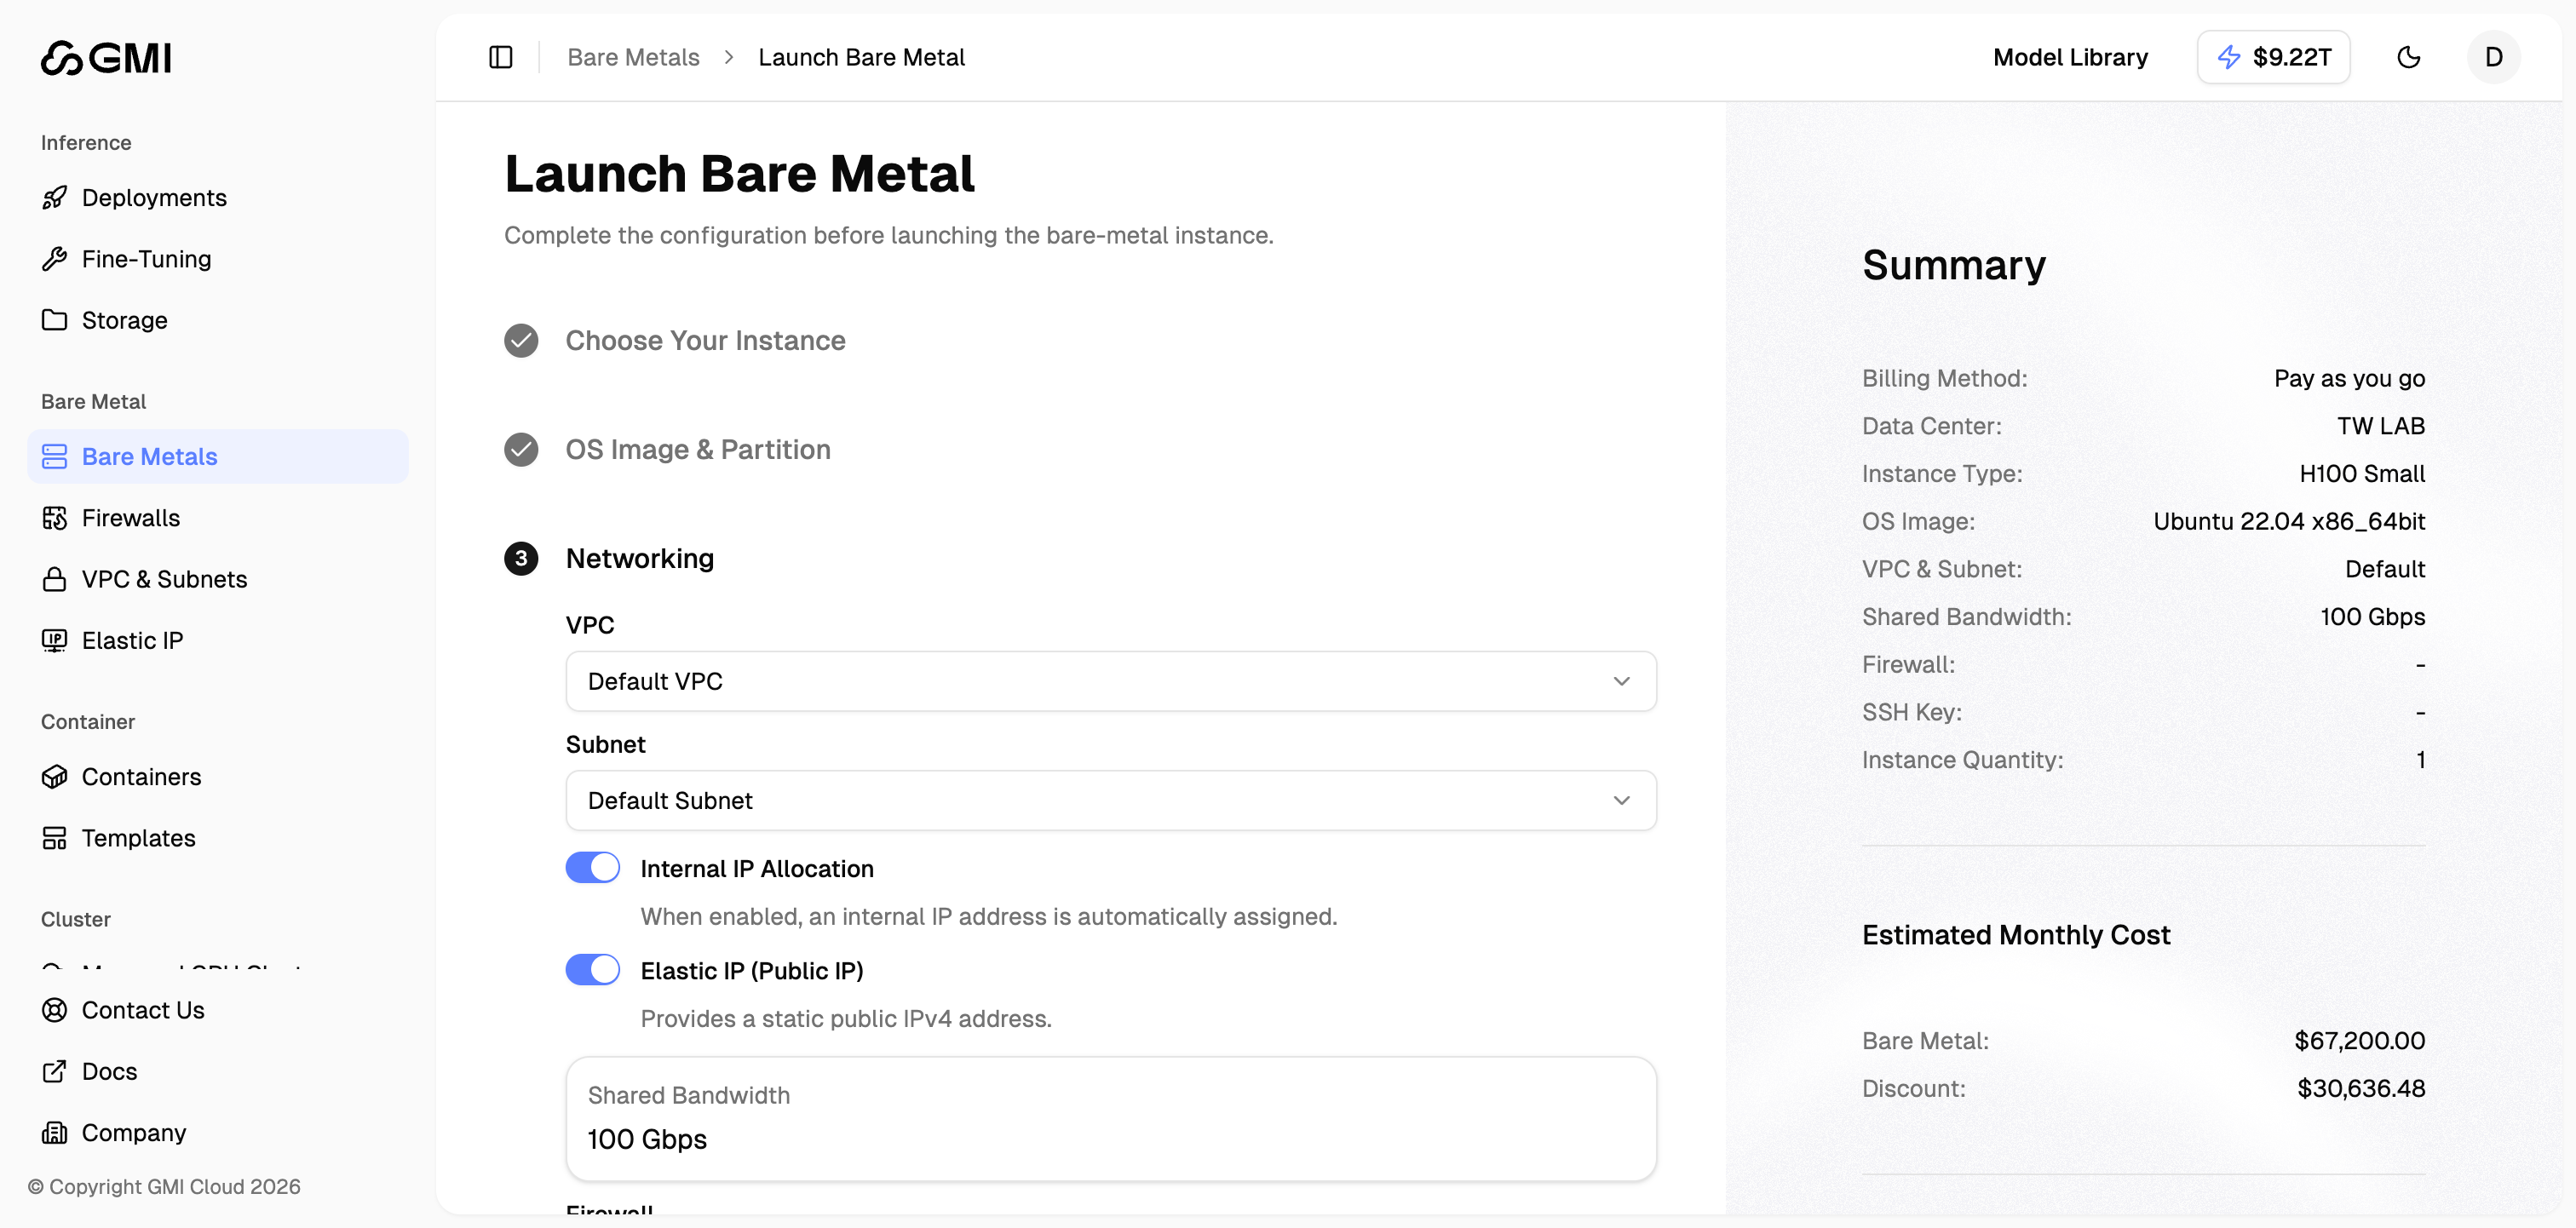
- You can use the default settings and configure firewall rules later
- Click “Continue”
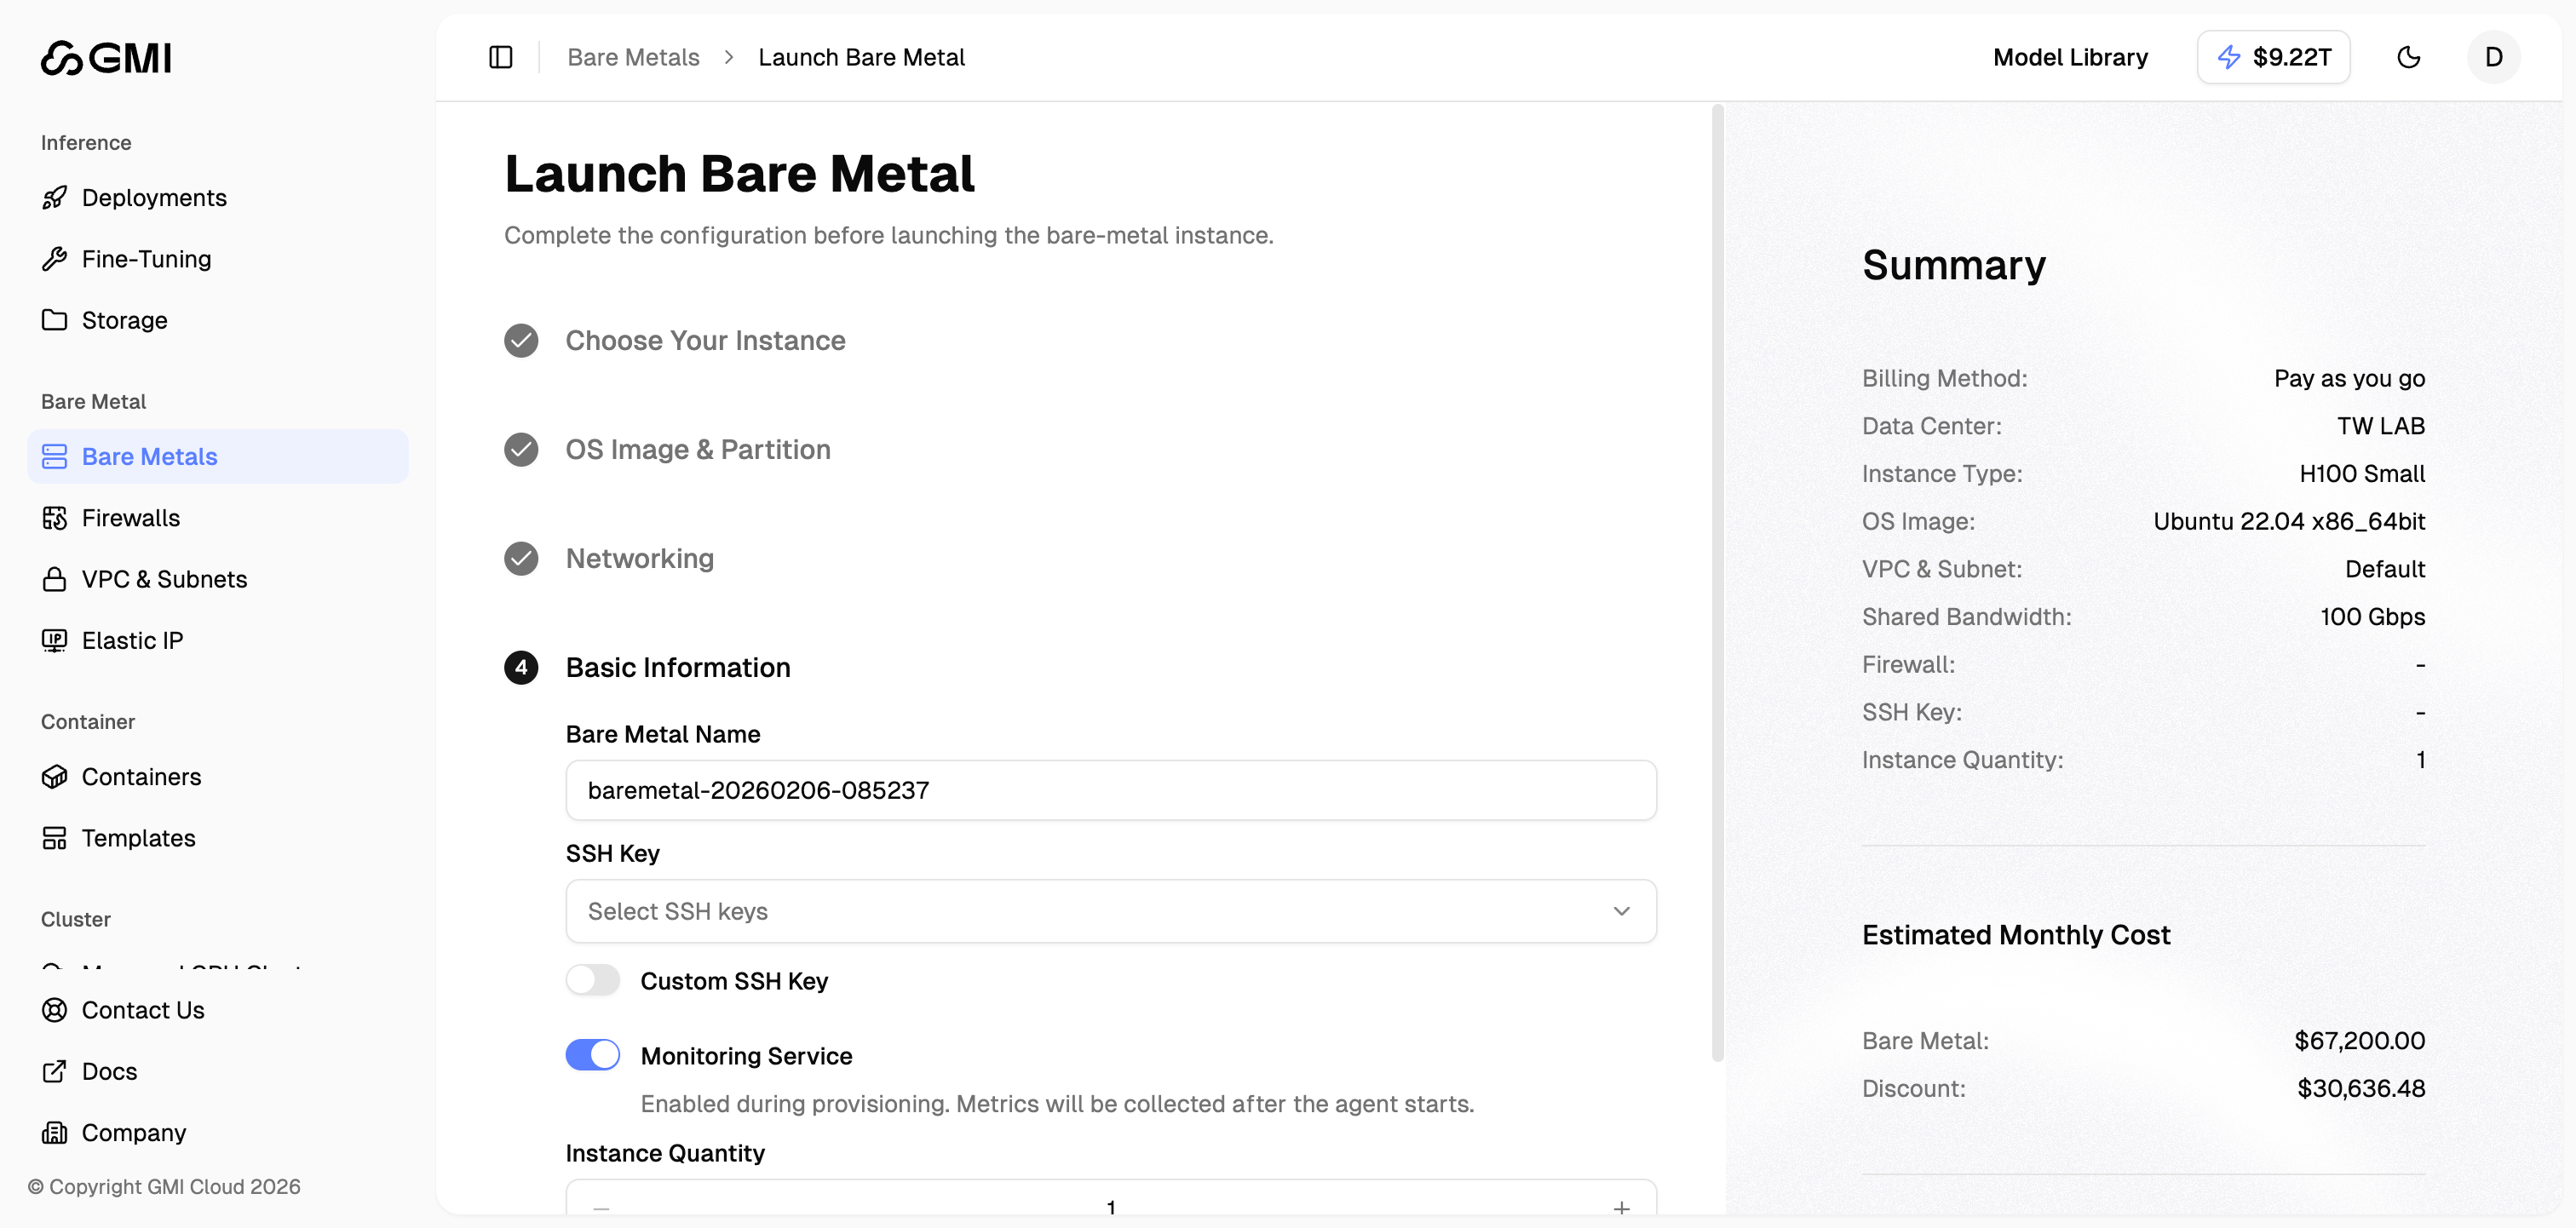
Step 5: Basic Information
- Configure basic information:
- Bare Metal Name: Specify a name for your bare metal server (auto-generated by default)
- SSH Key: Select an existing SSH key or enable Custom SSH Key
- Monitoring Service: Enable to collect metrics after the agent starts (enabled by default)
- Instance Quantity: Set the number of instances to create
-
Review the summary on the right side showing:
- All configuration details
- Estimated monthly cost breakdown
- Click “Go to Pay”
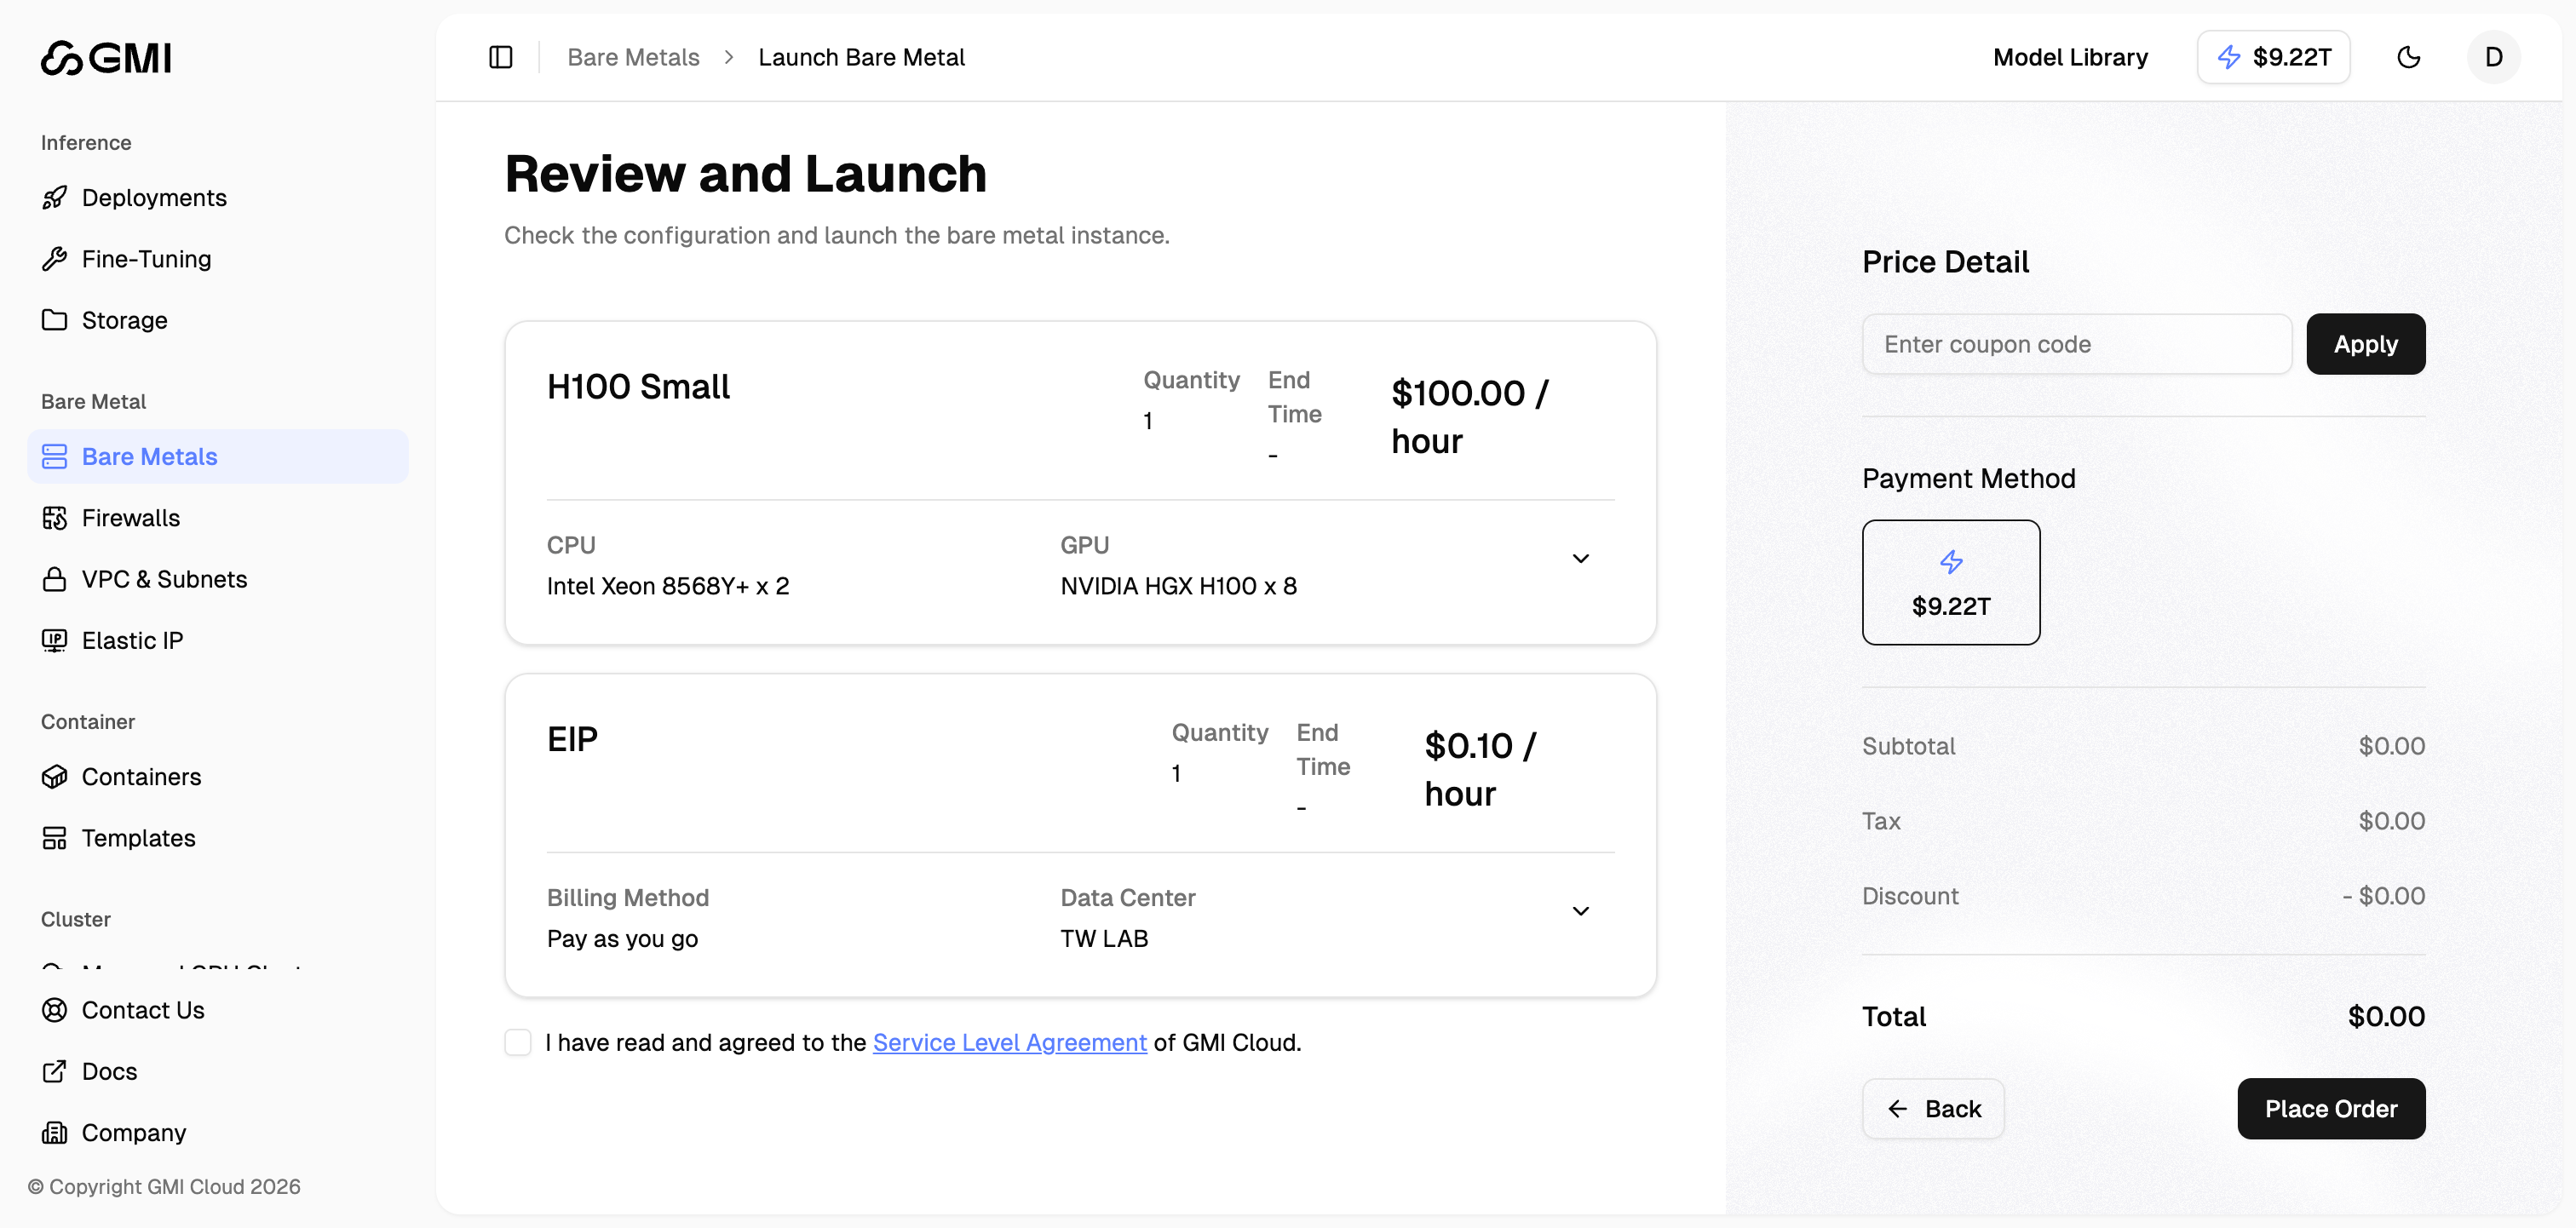
Step 6: Review and Place Order
-
Review your order details:
- Configuration summary (instance specifications)
- Billing method and data center
- Price details including subtotal, tax, and discounts
- Select your payment method
- (Optional) Enter a coupon code if available
- Check the box to agree to the Service Level Agreement
- Click “Place Order” to complete your purchase and launch the bare metal server